Turning a large bowl on a lathe tends to waste a lot of wood. When you factor in the cost of some of the more exotic woods, their price and limited sizes can quickly become prohibitive for larger bowls. With this project, a simple 20″ x 5″ x 1″ piece of wood is cut in half, and then cut into a series of sloped 45 degree rings on a bandsaw, and then glued together to make a handsome 10″ bowl blank to be turned on the lathe.
By using exotic woods and incorporating contrasting wood species, this project offers an extremely high bang-for-the-buck. It is not nearly as labor intensive as other segmented woodturning projects, and it yields very striking and impressive results with minimal materials cost.
Start by selecting the appropriate sized stock based on the desired diameter of the finished bowl. The board used should be at least half as wide and twice as longas the finished bowl diameter. So, for the 10″ diameter bowl in this example, the board was 5″ wide (half the width of the bowl) and 20″ long (twice the width of the bowl).
This 20″ long Pau Ferro board will be cut at 10″ to form the two halves of the bowl blank.
These two halves should roughly form a square when placed side by side. For a 10″ diameter bowl, the blanks should be 10″ long x 5″ wide, forming a 10″ square.
For this example, a 1/4″ thick piece of Curly Maple was glued on top of the Pau Ferro. (This creates a nice contrast in the finished bowl.) This made each bowl blank half 10″ long, 5″ wide, and 1″ thick.
The thickness of the board will determine the spacing of the rings and also the number of layers required to build up the height of the bowl. 1″ thick seems ideal, though thicknesses greater or less than this could be used as well. Unless you are planning on making a very small bowl, it’s not recommended to go below 5/8″ or 3/4″ thickness.
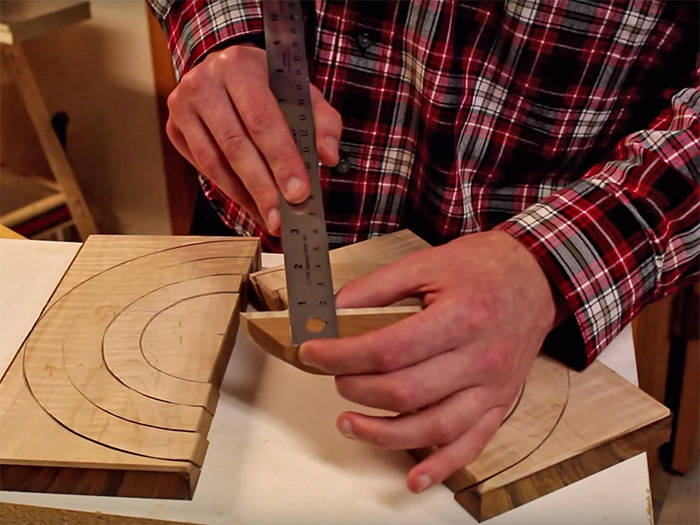
To determine the ring spacing, measure the thickness of the board. (In this case, it’s 1″.)
To lay out the lines where the blank will be band-sawed, begin with a trammel or some other circle-drawing jig. Lay the boards side by side so they form a square, and use the center point of the two boards to anchor your trammel or compass. Then adjust your tool to draw the largest possible circle that extends to the very edges of the blanks.
Begin laying out the rings by drawing the largest possible circle and work inward.
Besides the thickness measurement in the previous step, there’s no further measuring or calculations involved in laying out the cut lines. Using the outer circle drawn on the board halves, measure inward the same distance as the thickness of the board (in this case, it was 1″).
Continue to draw successively smaller and smaller circles, measuring in the same distance (equal to the board thickness) each time. Stop when the innermost circle is the desired base size. Be careful not to create too small of a base, as the circles drawn are for the top of the layer, and will taper down at a 45 degree angle. So what appears to be a 4″ base in this example (on top of the layer) will actually end up being only 2″ at the bottom of the layer once the angled cuts are made.
A compass can be used to draw the smaller inner cut lines.
Set the bandsaw table to 45 degrees. Given the steep angle and low position of the table bed, it might be easiest to make these cuts sitting on a shop chair or bench.
Bandsaw blade width is very important: 1/2″ to 3/4″ wide resaw blades (or even 3/8″ wide general blades) will not be able to make the tight-radius cuts that are required for the innermost circles. No relief cuts can be made, and the blade must be able to make one continuous cut through the entire radius. Make sure to check the cutting radius for your blade and use the right width for your project. In this case, a 1/4″ wide blade was used.
Cut each half of the bowl blank slowly and carefully. Precision, and not speed, is most important. Once you’ve cut each ring out, glue each half to its mating part individually with regular wood glue.
Cut along the circular lines, being careful not to deviate on the left or right very far.
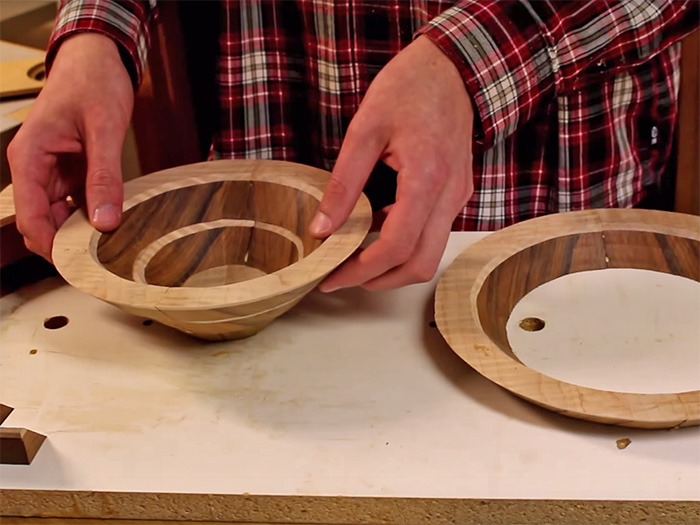
Once the halves have been cut and glued together, it’s time to stack them up and glue the layers together. This is where the magic happens!
You may choose to glue all the layers together into one solid bowl blank all at once. But for this project, each layer was glued on and built up one at a time and turned and smoothed out on the lathe before the next layer was added.
Also note that the initial board thickness determines the wall thickness of the bowl blank. If you’ve elected to use thinner stock, you will have much less wiggle room to shape the bowl, and the walls will be a more or less straight 45 degree angle. However, with these 1″ thick walls, there will be ample room to add a bit of an artistic shaping to the edges of the bowl and give it a more concave profile.
Stack each layer up successively to go from flat board to 3D bowl in seconds.
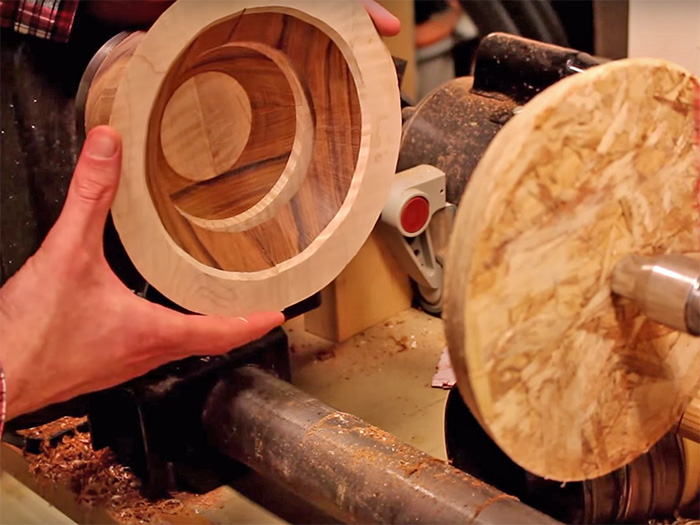
The bowl base was glued to a waste block, which was then mounted to the lathe. Once all the walls were flat and smooth, and all the layers were glued on, the bowl could be given its final shape.
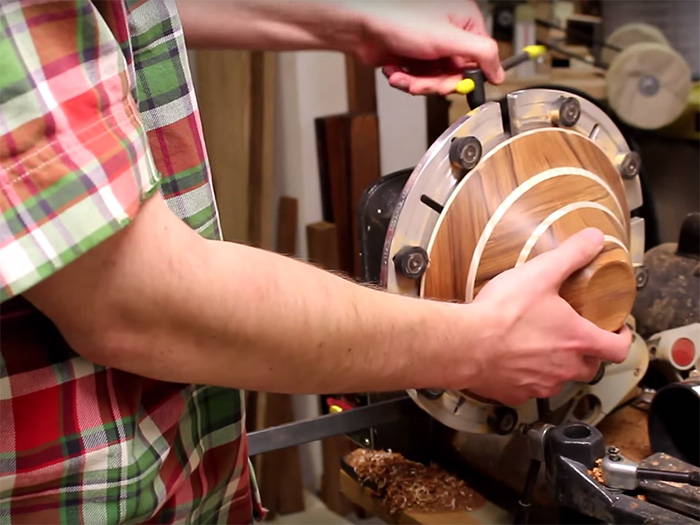
After shaping and sanding, the bowl will be reversed using bowl jaws and the bottom finished.
In this project, the layers were built up and glued on right on the lathe.
Bowl jaws are very useful for holding large objects like bowls. In the absence of these, you could simply part off the bowl from the waste block and sand the base flat and smooth by hand (or with a palm sander).
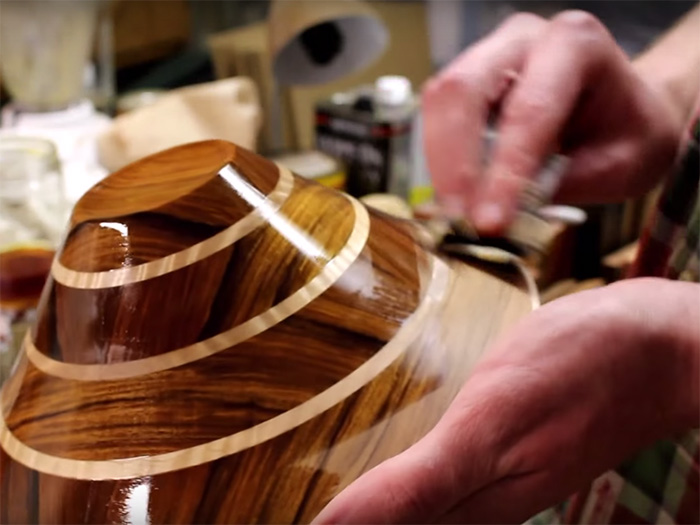
After finishing the bottom of the bowl, all that’s left is applying the finish.
Because Pau Ferro can be troublesome to finish with oil-based reactive finishes, it’s been my standard procedure with most of my projects to apply a few seal coats of shellac. These coats dry in seconds (or minutes for subsequent coats) and do a great job of prepping the project for the final topcoat.
For this bowl, I used a few seal coats of shop-made shellac, followed by a wiping varnish.
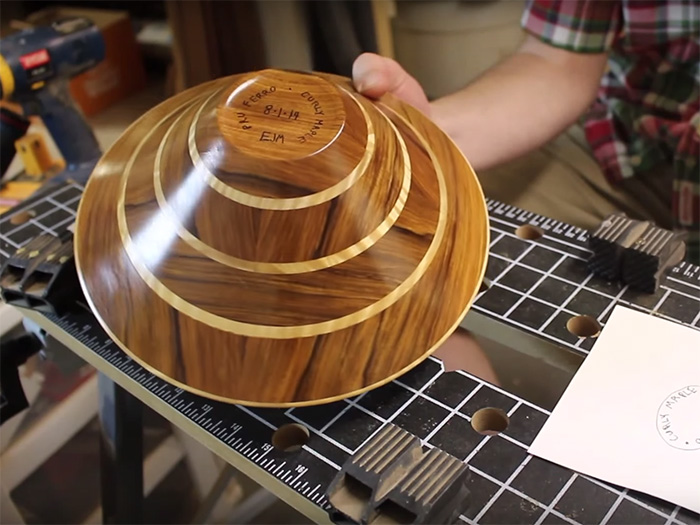
Taking a page from Malcom Tibbets’ playbook, I always like to sign the bottom of most of my turned projects with my initials, date, and woods used. (If you ever want to learn more about segmented woodturning, Malcom’s book is a fantastic resource written by an incredibly creative turner!)
I try to sign this between coats. I don’t like to sign the raw wood because the ink can seep into the wood and smudge, and I don’t like to sign above the top coat because it’s too easy for the ink to wear and rub off. I like to imbed the ink just beneath the last few layers of finish.
It’s been my habit to sign the bottom of my turnings with my initials, date, and woods used.
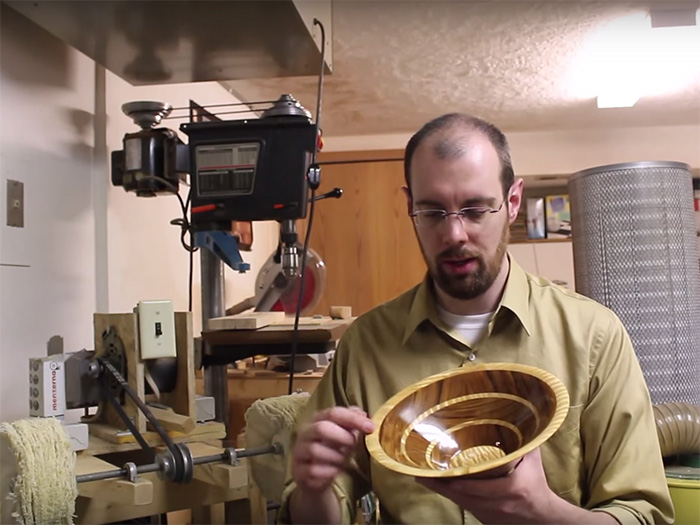
One of the most overlooked and underrated phases of any project is the finishing step. Different finishes work well at different times with different projects, but with exotic woods like these, I feel it’s always worth the extra effort to do a candy-like gloss finish. Even a satin finish could benefit from a little extra TLC by being rubbed out with 0000 steel wool.
Basically, no gloss finish will be perfect right off the rag (or brush, sprayer, etc.). Dust and other contaminants will always get into the finish, and surface irregularities will always be present. By lightly sanding the surface with high grit sandpaper (anywhere from 400 up to 2000), surface unevenness is eliminated and you are left with a perfectly smooth (though dull) finish. By using a buffing wheel with polishing compound as the final step, an automotive-like sheen develops.
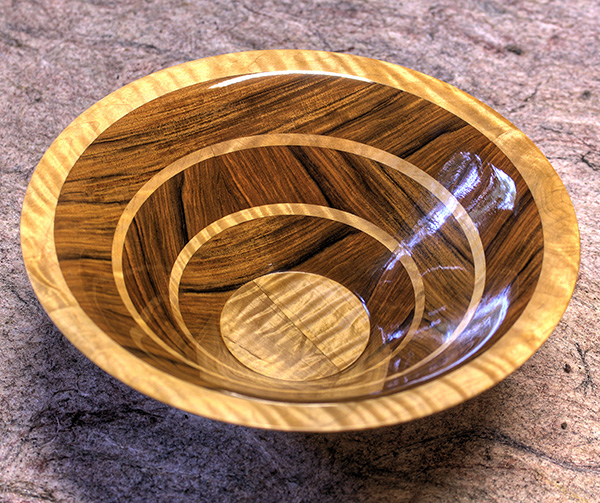
Once the finish is lightly sanded and buffed up to a high gloss, the beauty of the wood comes to life.
Are you an aspiring wood nerd?
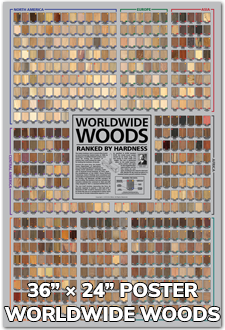
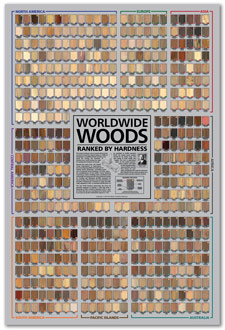
The poster, Worldwide Woods, Ranked by Hardness, should be required reading for anyone enrolled in the school of wood nerdery. I have amassed over 500 wood species on a single poster, arranged into eight major geographic regions, with each wood sorted and ranked according to its Janka hardness. Each wood has been meticulously documented and photographed, listed with its Janka hardness value (in lbf) and geographic and global hardness rankings. Consider this: the venerable Red Oak (Quercus rubra) sits at only #33 in North America and #278 worldwide for hardness! Aspiring wood nerds be advised: your syllabus may be calling for Worldwide Woods as part of your next assignment!


 The poster, Worldwide Woods, Ranked by Hardness, should be required reading for anyone enrolled in the school of wood nerdery. I have amassed over 500 wood species on a single poster, arranged into eight major geographic regions, with each wood sorted and ranked according to its Janka hardness. Each wood has been meticulously documented and photographed, listed with its Janka hardness value (in lbf) and geographic and global hardness rankings. Consider this: the venerable Red Oak (Quercus rubra) sits at only #33 in North America and #278 worldwide for hardness! Aspiring wood nerds be advised: your syllabus may be calling for Worldwide Woods as part of your next assignment!